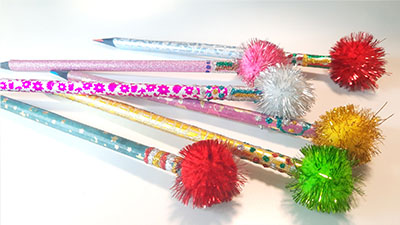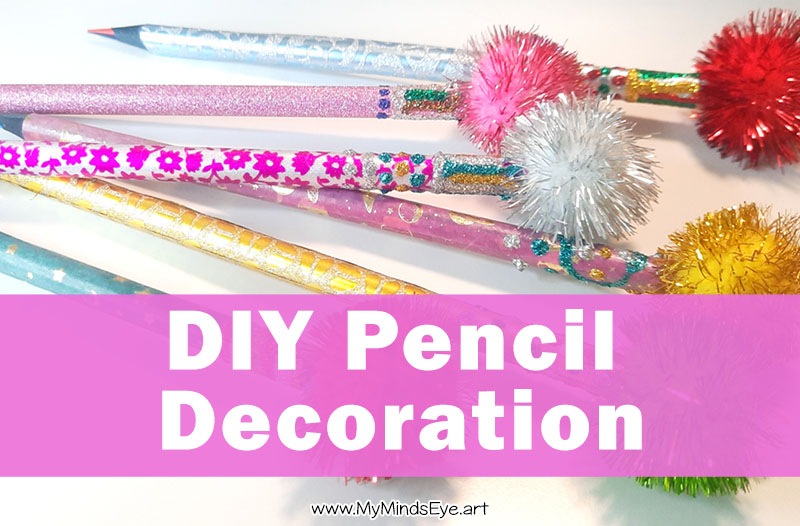
Need a quick gift for your favorite artsy person? Here’s a quick and easy DIY craft: Make them a cool one-of-a-kind pencil!
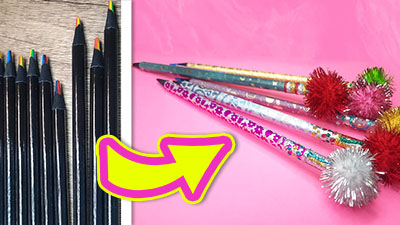
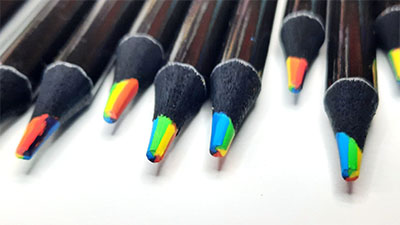
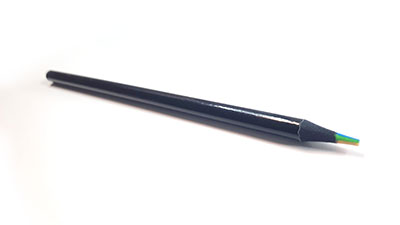
You can do this with any pencil you’d like. However, for a little extra fun, we’re going to decorate a rainbow pencil. A rainbow pencil is a pencil where the lead is made from lots of different colors.
Using just a few craft supplies, we’re going to give a rainbow pencil a super-easy make-over. The video below from my YouTube channel — Dee Draws Coloring Pages — shows how it is done. Scroll down for written instructions and a supply list.
Supplies
Rainbow Pencils – See Rainbow pencils on Amazon
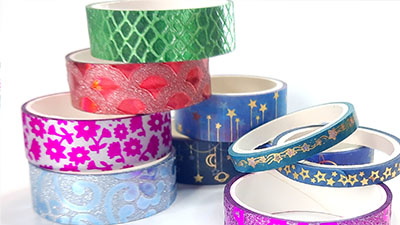
Washi Tape
– See Starry Universe Washi Tape on Amazon
– See Colorful Patterns Washi Tape on Amazon
Glitter Glue – See Glitter Glue on Amazon
Mini 1 inch PomPoms – See Mini Tinsel Pom Poms on Amazon
Instructions
Step 1: Wrap the pencil with Washi Tape
Washi tape comes in all sorts of pretty designs. It sticks pretty well to pencils. Plus, the wrapped pencil can still be sharpened with a pencil sharpener.
Cover the pencil with a strip of washi tape going lengthwise down the pencil. Don’t cover the part that is already sharpened. Because the tape was a bit too narrow, I used 2 overlapping strips to cover the whole pencil.
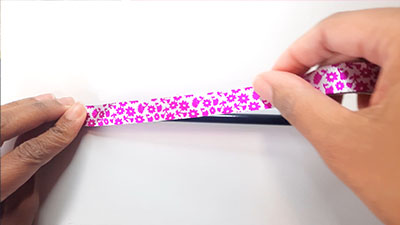
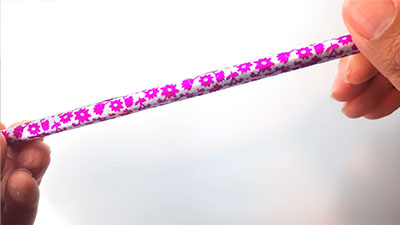
Tip: If the tape isn’t sticking well to the pencil, try using a glue stick to make the tape stickier.
Step 2: Glue Pom Pom onto the end of the pencil
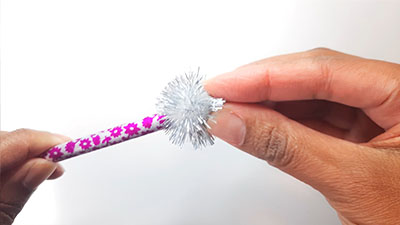
Since the rainbow pencil doesn’t have an eraser, I decided to add a glittery pom pom onto the end.
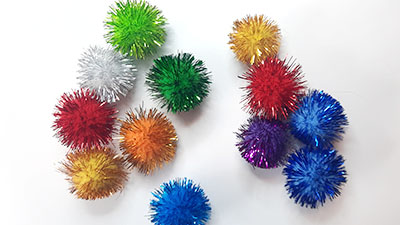
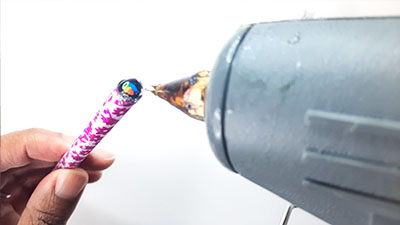
Use hot glue to make the pom pom stick.
Step 3: Use Glitter Glue to Decorate
Lastly, to add a little more bling, I drew on the pencil with glitter glue.
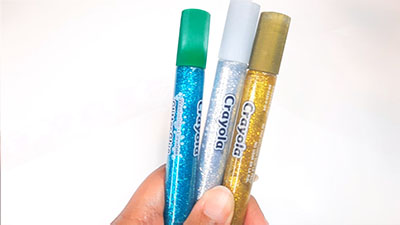
I kept the glitter design near the top of the pencil so that it wouldn’t get in the way of my hand holding the pencil. Also, I was afraid the dried design wouldn’t fit in the pencil sharpener if I put the design too far down the shaft of the pencil. I found that straight lines and little dots were the easiest shapes to draw with glitter glue.
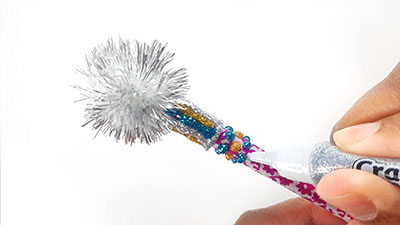
Prop the pencil up so that the wet glitter glue won’t touch anything. Then let the glue dry.
Have fun making lots of fancy one-of-a-kind pencil designs!
